Showing posts with label crafts. Show all posts

Tuesday, 24 April 2012

D.I.Y - Framed Pin Cushion!

It's been a while since i posted something that's actually handy!


Today, while sewing, I realized there has to be an easier way to keep pins and needles by my side, without having my fingers bleeding every time I reach into my sewing box. Then, this idea came to mind! 


I had an old photo frame lying around, and so gathered a sharpie, sponge, and scissors. Here's how to do it!


YOU WILL NEED:
Pins and/or Needles
Old Fabric
A Pen (Sharpie is best!)
A Photo Frame
Scissors
Sponge (I used one for dishes!)


First, open the back of the photo frame, and place the sponge over the window. Turn the frame over so it's facing you. Carefully draw the shape of the window onto the sponge like so:

rough estimates are okay!


Second, Cut around the shape drawn onto your sponge, leaving a 1cm/2cm gap between the cut and the line.


Then, gently tear off the scourer from the sponge itself (if there is one, that is!) Don't worry if any bits tear the wrong way, it'll be covered by fabric.


Now, it's time to get your fabric ready! Place it on a flat surface, and make sure it's relatively crease-free. Trace around the sponge, again leaving a gap of around 3cm-5cm from the sponge.


I think you know what's coming next.. yep, cut around the fabric! Then wrap it slightly loose around the sponge, so it's not pulling any corners in.


Gently push the fabric covered sponge into your photo frame window, making sure it doesn't fall through the other side. If it has a clasp like mine, be sure to put it back in place so nothing falls out.


Lastly, Trim off the excess fabric around the closed back of the photo frame(Now you see why you left some around the edges!) And voila! Turn it over, and hopefully you should be left with something like this!


Now you can go voodoo and stick all your pins and needles into your lovely new cushion! 


Here's mine!: 


Happy crafting! xox

Wednesday, 11 April 2012

we all need some space sometimes.

I'm about to let you in on a huge secret that i haven't told anyone about, yet. (other than ryan, because he's part of it too...)

I'm planning to move back to scotland either late this year, or early in 2013. Hopefully by summer 2013 anyway!


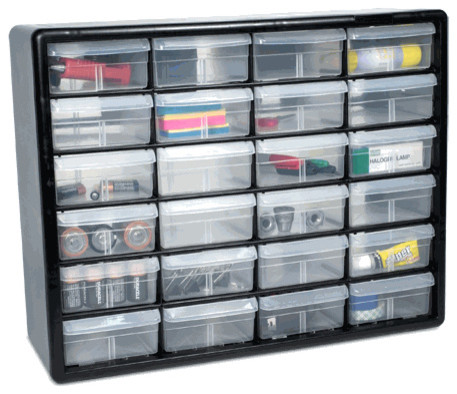
So recently i've been thinking, knowing roughly where we want to move to, it has very small flats/houses, and since we'd probably have a flat, we'll need a hell of a lot of storage space!

I found some great ideas for storage and thought i'd share them with you!
(if i use any of these, they're likely to be FULL of my craft stuff... we'll need at least a two bed flat!)


i think this one is excellent!

i kind of need this one for my "oh i could use that!" hoarding addiction.


this is a beauty! don't know where i'd find huge pipe cutoffs though..

this would be fabulous for me.. storage on top, magnetic jars in the middle, and pots on the bottom!
EEEEP! if only ryan would sleep in a pink room... i'd make it a lot less girly to be honest..
another great idea for small bits!

these are all i can be bothered to find at the moment! i've got some housework to do now, so i'll leave you be.

happy blogging! xxxx

Sunday, 18 March 2012

i've seen some things recently...

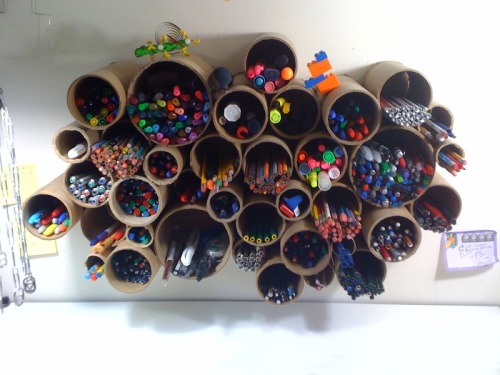
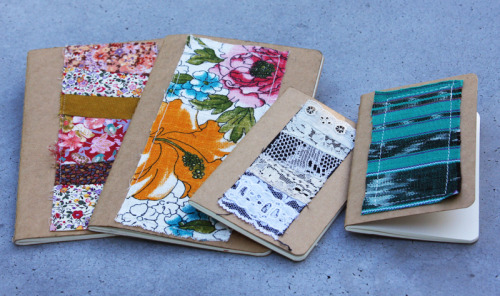
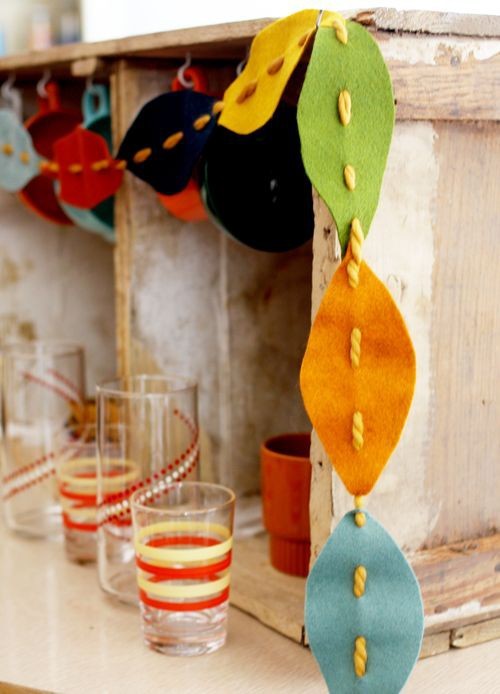
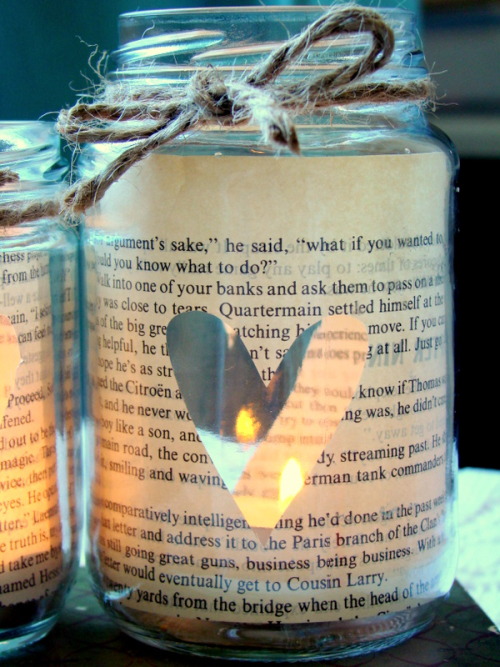
and i've decided to start saving up extra odds and rake through the recycling bins.. to make these!


1) holders! (mine will be made from tubes, toilet roll tubes, kitchen roll tubes, and i have no idea what else!)

2) moleskine covers!

3) leaf bunting!


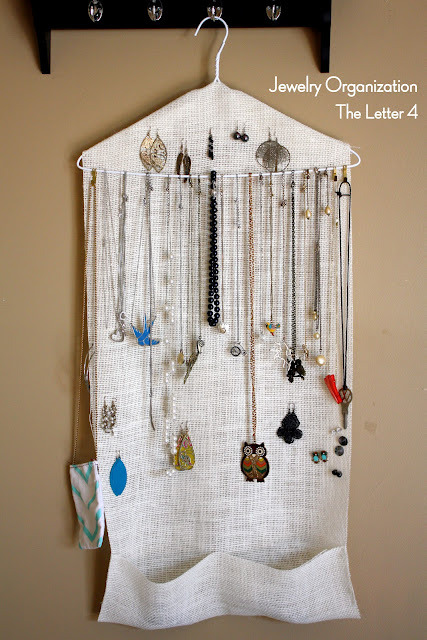
4) a jewelry organizer! (i so badly need one...)


5) a D.I.Y dreamcatcher! (always wanted one, but don't want to spend £££!)


is there anything you're looking into making? there's a whole wide internet out there! 
find something you like, and interpret your own style into it!

Happy crafting xox


Tuesday, 14 February 2012

Bath Salts on the cheap!


Bath Salts Recipe ( this recipe fills two 150 ml containers)
3/4 cup Epsom salts
1/2 cup coarse sea salt
1/4 cup baking soda
8 drops essential oil of your choice
food colouring

1.  Mix all the ingredients into one large bowl, If there are any lumps, crush them up.
2. Add the food colouring and the essential oils.
3. Using a whisk, mix the essential oils and the food colouring.
4. when it starts to solidify slightly, scoop it into jars, or wrap it in plastic wrapping and refrigerate to harden before using/giving as a gift :-)


Sunday, 12 February 2012

D.I.Y Stencil Pillow!

You will need;
- a pencil
- a blank pillow cover
- some cardboard (to lean on)
- a stencil (optional, to keep things neat)
- a permanent marker (my sharpie worked!)


After choosing your quote, put cardboard inside the cushion cover to keep the marker from bleeding through to the other side and to keep the fabric stretched out smooth.
Use a pencil to stencil your quote onto the pillow cover, that way if you mess up the spacing you can erase the pencil lines and redo them! You can’t fix mistakes when you’re using the fabric marker though, so don’t skip the pencil step! (note; it may not work on every fabric)
Once you’ve penciled everything in, go at it with your fabric marker! I found it easiest to use the stencil for the outline of each letter, and then remove the stencil to fill the letters in.
The Sharpie fabric marker packaging didn’t say anything about heat setting the ink, but I ironed mine out before i washed it. Seemed to work!


Sunday, 5 February 2012

D.I.Y fabric roses from an old tshirt in easy steps!

this is such a cute thing to do, and there's loads of things to do with them too! 


Here's the instructions; 


  1. Cut a strip of t-shirt fabric, stitch down the middle, gather, fold in half lengthwise, and roll it up. (see below)

2. Blob some fabric glue (i just use PVA!) on the back and stick it to a circle of fabric.


Attach it to something, wear it out! I'm going to make loads, attach them to clothes, shoes, headbands, the lot!


Saturday, 4 February 2012

time for my first proper post..


when i find the time, i'm definitely going to make some of these!
click here to find instructions :-)

-Louise x